Resistance Band Travel Workout Joint-Friendly Plan
A practical 2026 plan for packing, anchoring, scaling, and stopping resistance-band workouts safely while traveling.

This article is for general education only and is not medical advice. Stop exercise and seek qualified care for chest pain, fainting, severe shortness of breath, neurological symptoms, uncontrolled blood pressure, recent surgery concerns, pregnancy-related concerns, or symptoms that worsen instead of improving.
Evidence and boundary review
BodyWise Lab articles cite primary sources, show update dates, and separate practical routines from clinical decisions. Source-checking is an editorial process, not a personal medical endorsement.
Resistance bands are easy to pack, but travel changes the safety problem. Floors can be slippery, doors may not hold an anchor, sleep and hydration may be off, and a room that looks spacious in a photo can be crowded once luggage is open. This guide turns a band session into a repeatable travel routine: inspect the band, choose anchor-free movements first, scale tension before joints complain, and stop when the room or your body is giving bad feedback.
Resistance-band travel safety decision table
| Situation | Safer choice | Mistake to avoid |
|---|---|---|
| Cramped hotel room | Use seated rows, wall-free presses, bridges, or mobility work | Stretching bands across furniture or unverified door hardware |
| Band has cracks, whitening, or sticky spots | Retire it for the trip and use bodyweight options | Testing a damaged band near the face or eyes |
| Knee, back, wrist, or shoulder pain changes form | Shorten range, reduce tension, or stop | Adding resistance to make the workout feel worthwhile |
| Heat, poor sleep, or travel fatigue is high | Choose an easy circuit or recovery mobility | Treating a travel day like a normal heavy training day |
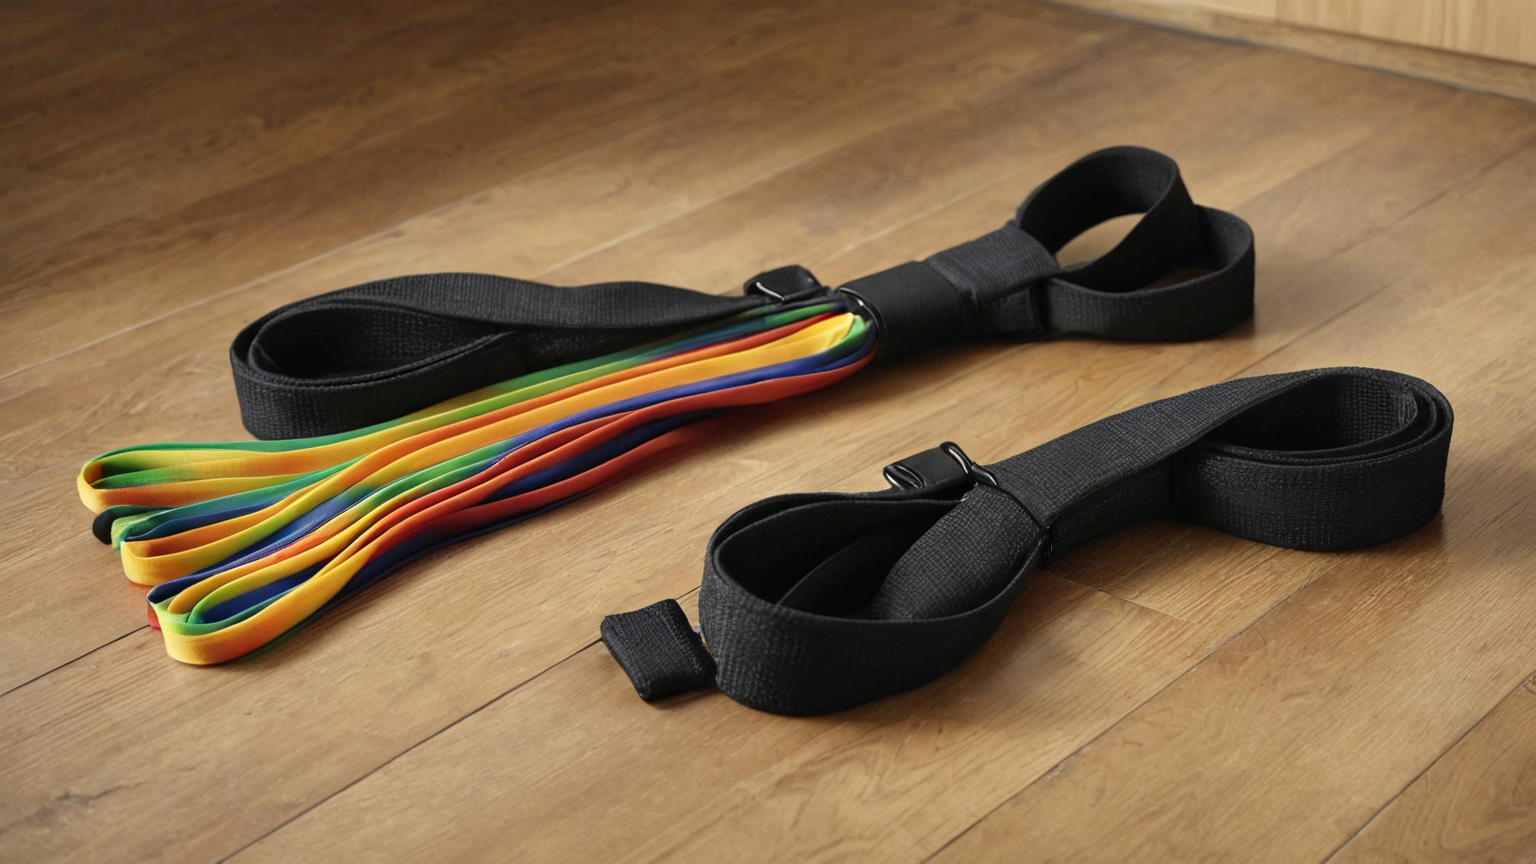
1. Inspect the band and room before effort
Look along the entire band before the first set. Small cracks, flattened sections, brittle spots, or sticky material are warning signs because elastic failure is sudden. Clear a full step around the movement path, move shoes and luggage away from the floor, and keep the band line away from your face. If the room forces an awkward angle, change the exercise instead of forcing the setup.
A practical inspection takes less than one minute: band surface, handle or loop, floor space, anchor plan, and escape path. That minute is more useful than a complicated warm-up if it prevents a snap-back or trip hazard.

2. Use anchor-free moves unless the anchor is unquestionably stable
Door anchors, bed frames, chairs, and railings are not equal. In an unfamiliar room, the safer default is anchor-free work: band pull-aparts, lateral walks, seated rows around the feet, suitcase-style anti-rotation holds, glute bridges, and controlled presses where the band is trapped under your own foot. If an anchor is uncertain, do not test it under load.
When you do use an anchor, pull lightly in the exact direction of the exercise before the real set, keep your face out of the recoil path, and avoid attaching to anything that could open, slide, tip, or damage the property.
3. Scale joints first, resistance second
A joint-friendly band workout should feel smooth before it feels hard. Use shorter ranges, slower tempo, or lighter tension when knees, shoulders, elbows, wrists, or the lower back feel irritated. Bands get harder as they stretch, so the final part of a movement can become much heavier than expected.
Use a simple effort cap: most travel sets should stop with two or three comfortable reps left. That preserves the goal of travel training—maintaining rhythm—without turning a cramped room into a rehab problem.
4. Build a 20-minute travel circuit with recovery margins
A useful template is five minutes of mobility, ten minutes of strength, and five minutes of cooldown. Pair one lower-body move with one upper-body pull and one core or carry pattern. Rest long enough that the next set looks like the first. If the session starts late at night, after alcohol, or after a long drive, cut the strength block in half.
Example: ankle rocks and hip hinges, then two rounds of seated band rows, glute bridges, split-stance presses, and dead-bug breathing. The point is not novelty; it is a reliable minimum dose that keeps training consistent.

5. Use stop rules that survive travel fatigue
Write the stop rule before the workout: stop for sharp pain, dizziness, shortness of breath that feels unusual, numbness, swelling, equipment damage, or a setup that cannot be made stable. Travel fatigue makes people negotiate with themselves; a written rule removes the negotiation.
If symptoms repeat across two sessions, pause band training and use walking, mobility, or professional guidance. A skipped workout is cheaper than a preventable injury during a trip.
Seven-point implementation checklist
- Check current official guidance before relying on memory.
- Set up the physical space before the risky step starts.
- Keep warnings, thresholds, and decision logic in body text rather than image text.
- Scale effort, heat, speed, serving time, resistance, or electrical load down when conditions are uncertain.
- Document the exception so the next attempt improves instead of repeating a mistake.
- Avoid affiliate filler where safety or trust is the main reader need.
- Revisit the plan after the season, trip, event, or household conditions change.
Source notes and limitations
This guide uses sources from AAOS, ACSM, CDC, Mayo Clinic, MedlinePlus to set conservative decision boundaries. It does not certify a product, diagnose a condition, replace local law, or override professional instructions. If the real situation conflicts with this article, use the current official source, product manual, emergency instruction, clinician, qualified tradesperson, or food-safety authority first.
FAQ
Is this current for June 2026?
The article was prepared and source-checked during the 2026-06-19 publishing workflow. Current CDC/ACSM activity guidance, clinician or physical-therapist advice, equipment condition, pain signals, and hotel-room safety still take priority.
Does this replace professional advice?
No. It is a fitness planning guide for low-risk travel workouts. Stop for pain, dizziness, equipment damage, or unstable setup, and use a licensed clinician or physical therapist for injury, rehab, or diagnosis questions.
Why are the visuals plain?
The GTI13 raster images intentionally avoid readable labels, fake UI, documents, dashboards, and safety-critical text so the facts remain in accessible body copy.
Practical example
A useful way to apply the guide is to write a one-sentence stop rule before starting: “If the setup does not match the checklist, I will choose the lower-risk option.” That sentence prevents the common failure mode: noticing a risk, continuing anyway, and hoping the situation stays normal. It also makes the guidance easier to share with another person because the decision is not personal; it is part of the system.
AdSense-readiness note
This article intentionally prioritizes source-backed, user-first guidance over product recommendations. Internal links point to related practical guides, the sources are visible in frontmatter, and the limitations section avoids overclaiming. That preserves trust signals while adding a new helpful route to the site.