Grip Strength Training: A Practical Health and Performance Plan
CDC, ACSM, NIH, and sports-medicine evidence translated into a safe grip-strength plan for daily function and training carryover.
This article is for general education only and is not medical advice. Stop exercise and seek qualified care for chest pain, fainting, severe shortness of breath, neurological symptoms, uncontrolled blood pressure, recent surgery concerns, pregnancy-related concerns, or symptoms that worsen instead of improving.
Evidence and boundary review
BodyWise Lab articles cite primary sources, show update dates, and separate practical routines from clinical decisions. Source-checking is an editorial process, not a personal medical endorsement.
Grip strength sounds like a small fitness detail until a jar lid, grocery bag, suitcase, pull-up bar, garden tool, or heavy pan exposes the gap. It is also a useful window into general strength and aging because hand force depends on muscle, tendon tolerance, nerve function, coordination, and confidence under load. This guide treats grip training as a practical health skill rather than a forearm vanity project: measure a baseline, choose safe variations, progress slowly, and connect the work to whole-body training.
1. Measure grip before you train it
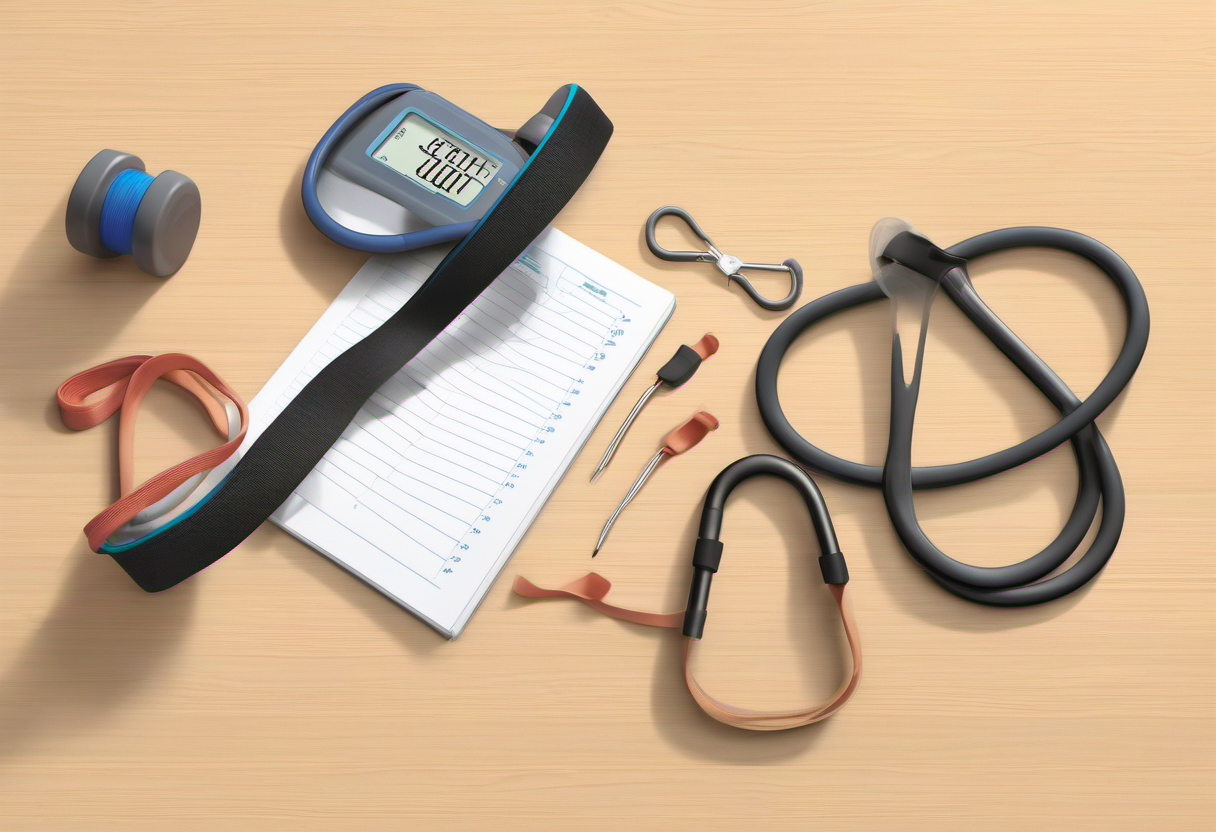
A useful grip plan starts with a repeatable baseline. A clinic or well-equipped gym may use a hand dynamometer, but home trainees can still track meaningful trends with a controlled suitcase carry, timed farmer carry, towel hang regression, or a known dumbbell held for distance. The point is not to prove toughness; it is to create a consistent signal. Test at roughly the same time of day, after the same warm-up, and away from hard pulling sessions. Record right and left sides separately because asymmetry can be more informative than the absolute number.
Do not make every assessment a max-effort event. People with high blood pressure concerns, shoulder pain, hand numbness, or a history of tendon irritation should choose submaximal checks that do not require breath-holding. The CDC, WHO, and AHA all frame resistance training as part of a broader physical-activity pattern, not as a single heroic test. If grip is falling quickly, one hand changes suddenly, or numbness accompanies weakness, stop treating it as a programming issue and seek medical evaluation.
2. Build grip through whole-body strength

The best grip training usually happens while the rest of the body is doing honest work. Farmer carries, suitcase carries, rows, Romanian deadlifts, step-ups with dumbbells, and controlled hangs teach the hand to hold while the trunk, hips, shoulders, and breathing system stay organized. That transfer matters because daily grip demands rarely happen in isolation. Carrying groceries up stairs, lifting luggage, moving a planter, or pulling a stuck drawer involves posture and balance as much as finger force.
Start with loads you can control without leaning, shrugging, or holding your breath. A practical session might include two or three short carries of 20 to 40 seconds per side, one pulling movement, and one easy direct hand drill. Keep several seconds or repetitions in reserve. If the hands fail before the body learns the movement, the load is too ambitious. If the back rounds, shoulders creep toward the ears, or the wrist collapses, the exercise is no longer training the quality you want.
3. Use direct hand tools as accessories, not the whole program
Hand grippers, therapy putty, rice buckets, wrist rollers, and rubber-band finger extensions can be useful, especially when someone needs a low-equipment option. They become a problem when they are stacked on top of heavy pulling, climbing, racket sports, yard work, and keyboard-heavy weeks without accounting for total tissue stress. Tendons and small hand structures often complain later than muscles, so a session can feel easy and still be too much when repeated daily.
Choose one or two accessory drills for a month. For example, use a light gripper for two sets of controlled squeezes and a rubber-band extension drill for balance, or use putty for low-intensity endurance. Keep the wrist neutral unless the drill specifically trains wrist motion, and avoid sharp pain at the elbow, thumb, or finger pulleys. More variety is not automatically better. A simple plan you can recover from beats a complicated forearm circuit that makes every pull day worse.
4. Progress with tendons and recovery in mind
Progress grip training by changing one variable at a time: load, duration, distance, density, or frequency. If a suitcase carry improves from 30 seconds to 45 seconds at the same load, that is progress. If the same distance feels steadier and less breathless, that is also progress. Resist the urge to increase load and frequency in the same week, especially if the hands are already used for work, gardening, cooking, tools, or sports.
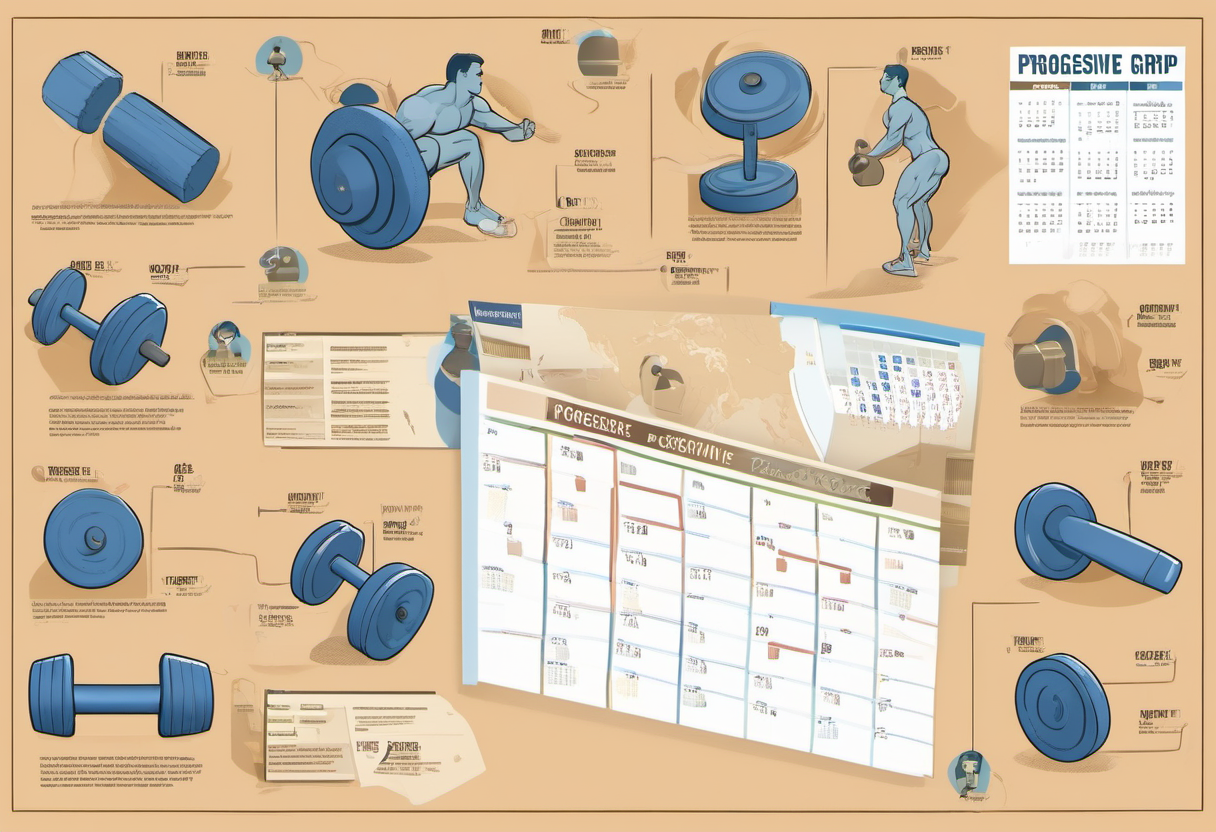
A four-week starter plan can be simple. Week one establishes technique with two short sessions. Week two adds a little time or distance. Week three adds a modest load if the elbows and wrists feel quiet. Week four holds the dose and retests after an easy day. People over 50, returning after injury, or managing chronic conditions should be even more patient. The NSCA and ACSM emphasis on individualized resistance training applies here: the correct dose is the one that builds capacity without stealing from the next week.
5. Connect grip to function, not ego
Grip strength is valuable because it supports independence and performance. It helps with carrying, opening, lifting, pulling, and stabilizing. It may also reflect broader muscular fitness, which is why handgrip strength appears in research on health outcomes. But a stronger squeeze does not replace leg strength, aerobic conditioning, protein adequacy, balance, sleep, or safe lifting mechanics. Treat grip as one component of a resilient body.
The weekly checklist is straightforward: perform two full-body strength sessions, include at least one carry or hold variation, keep one direct grip drill optional, log symptoms, and retest monthly. If the plan interferes with normal training, reduce it. If it makes daily tasks easier and pulling exercises more secure, keep building gradually. The goal is not to win a gripper challenge; it is to have reliable hands for decades.
6. Choose exercises by the problem you are solving
If the problem is dropped grocery bags, prioritize suitcase carries and farmer carries because they train the hand while the body walks, turns, and stabilizes. If the problem is losing position on rows or deadlifts, use controlled pulling volume and straps only when the target muscle would otherwise be undertrained. If the problem is opening jars, add low-intensity pinch work with plates, towels, or putty. If the problem is a desk-and-phone lifestyle that leaves the hands stiff, start with mobility, easy extensor work, and short carries before maximal squeezing.
This matching process prevents the common mistake of buying the hardest gripper available and calling it a plan. A maximal gripper measures a narrow kind of crush strength. It may not build endurance for carrying, fingertip tolerance for climbing, or wrist control for tools. Select the smallest exercise menu that addresses the real task, then repeat it long enough to know whether it works. Two well-chosen drills performed consistently will beat six random forearm exercises rotated weekly.
7. A practical four-week template
Use this template after a normal warm-up and stop if pain changes your movement. On day one, perform three suitcase carries per side, one dumbbell row variation, and one easy gripper or putty drill. On day two, perform two farmer carries, one hinge or step-up with dumbbells, and one extensor drill with a rubber band. Keep every set at a controlled effort. The last ten seconds of a carry can be challenging, but posture should remain calm and breathing should continue.
During week one, learn the movements. During week two, add a little distance or time. During week three, increase load modestly on one carry only if the elbows, wrists, and fingers feel normal. During week four, hold the dose and retest after an easy day. If your numbers improve and daily tasks feel easier, repeat the cycle. If soreness accumulates, reduce direct hand work first and keep whole-body strength training. Grip is important, but it should support training rather than becoming the thing that breaks it.
8. Red flags and recovery rules
Normal training effort can create temporary fatigue, but sharp pain, numbness, tingling, swelling, finger locking, sudden one-sided weakness, or pain that changes work and sleep is not normal adaptation. Pause the aggravating exercise and get appropriate clinical advice. Do not keep adding tape, straps, braces, and pain relievers just to force a program forward. Hands are used all day, so recovery includes work tools, phone use, cooking, yard work, and sports as well as gym volume.
A recovery-aware grip plan also respects nutrition and general training. Adequate protein, sleep, aerobic activity, and full-body resistance training make it easier for the hands to adapt. The healthiest grip program is rarely the most dramatic one. It is the plan that builds useful capacity while leaving you ready to train, work, and live the next day.
9. How to know the plan is working
The best sign is not a single heroic personal record. Look for steadier carries, fewer dropped objects, more secure rows, easier luggage handling, and less hesitation with ordinary tasks. A dynamometer or timed carry can confirm progress, but function should lead the interpretation. If the number improves while elbows ache and training quality falls, the plan is too expensive. If the number changes slowly but daily tasks feel easier and recovery is good, the plan is doing its job.
Reassess monthly rather than daily. Daily testing turns training into noise because hydration, sleep, soreness, and recent pulling work can change the result. Use a short note: load, time or distance, side-to-side difference, pain rating, and what else stressed the hands that week. After three months, you should be able to see whether progress came from smarter programming, better recovery, or simply practicing the test. That information is more useful than chasing a random benchmark from someone else’s body.